
Oakville's Premium Window & Door Supplier Specializing in Custom Design, Replacement, and Installation
Welcome to Fasada - Serving Oakville & The GTA since 1999
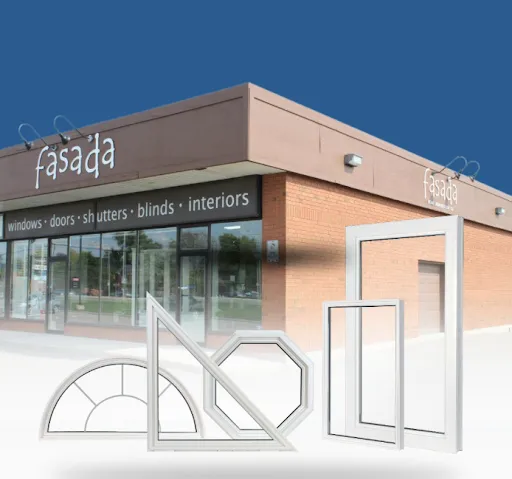
We are proud to be Oakville’s Oldest Window Store. An independently owned boutique showcasing brand name windows, doors, blinds and shutters at competitive prices. Experience what thousands of satisfied customers have with our custom solutions, award winning installations and our superior standard of customer service.

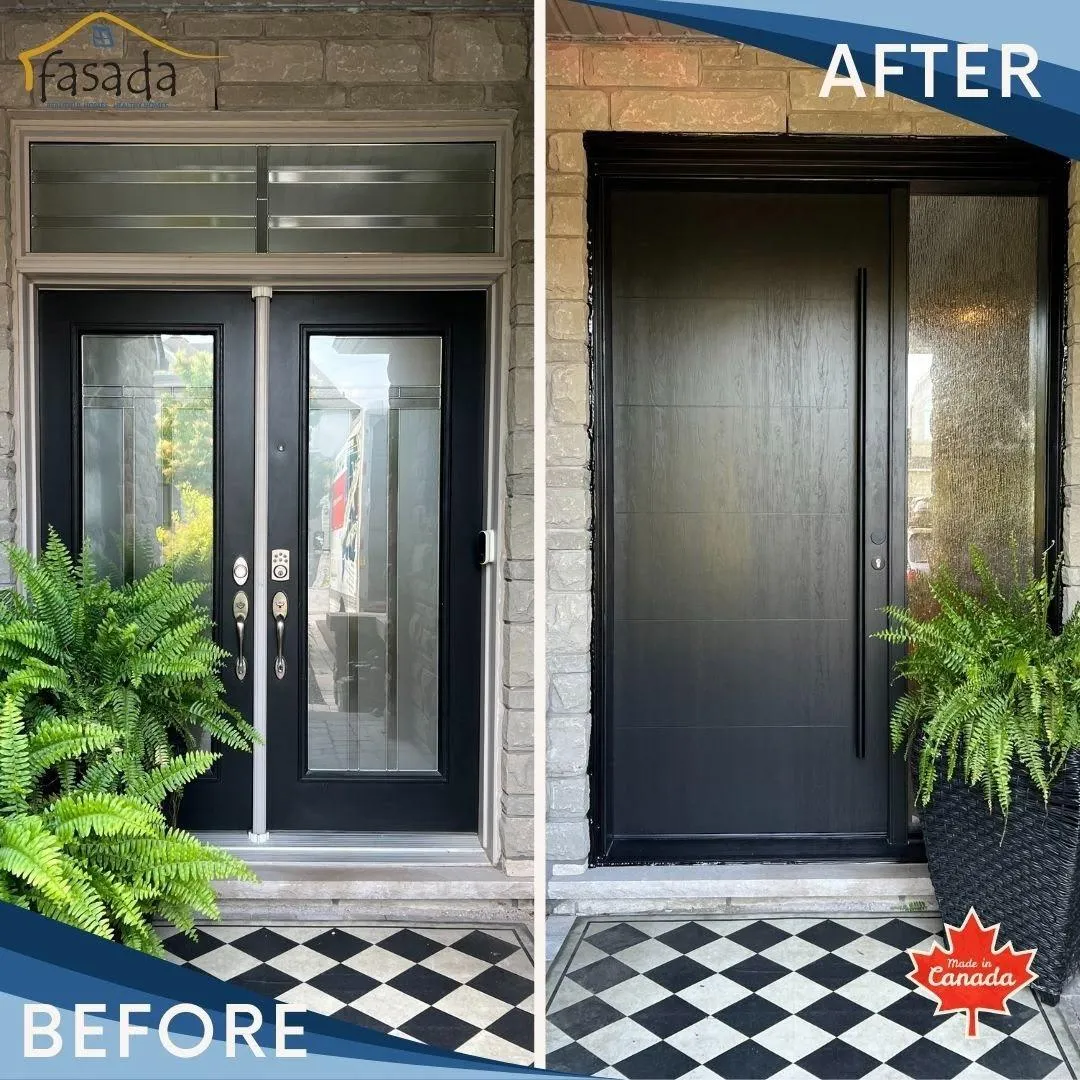
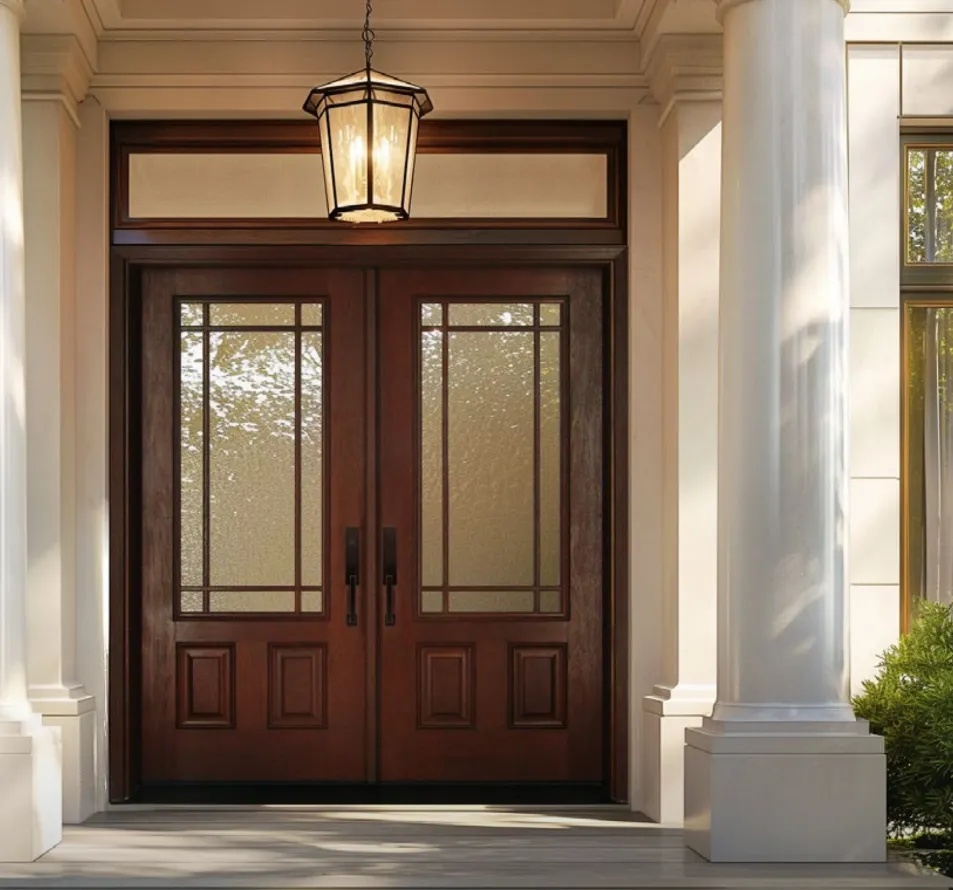
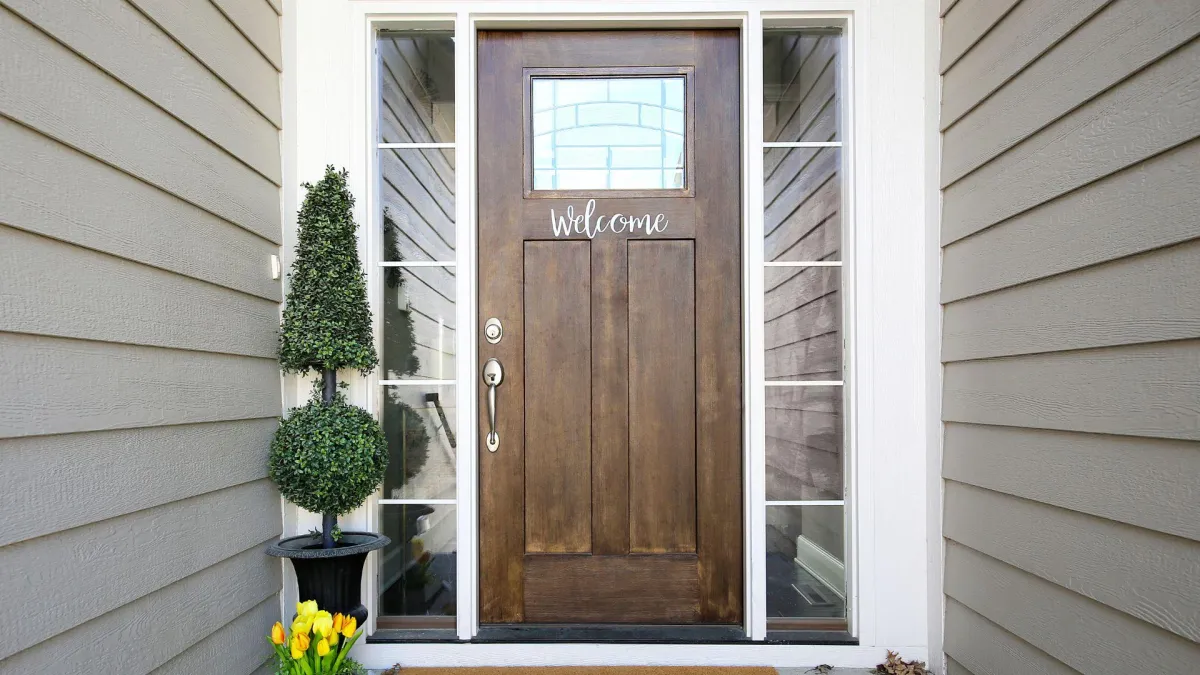
Entry Door Event!
Make a strong first impression with a new Entry Door for your home! We offer Fibreglass and Steel Entry Doors that can be customized and personalized to fit any style.
Selection and Customization: We offer a wide range of Entry Door designs, including classic, contemporary and modern styles.
Durability and Performance: Both our Fibreglass and Steel Entry Doors are engineered and manufactured in Canada for high performance & superior durability.
Innovative Technology: Utilizing advanced manufacturing techniques, our Entry Doors ensure precise craftsmanship and quality control.
Come visit our Oakville Showroom so we can personalize your Entry Door experience with the best pricing and products to elevate your home!


The Fasada Difference
Known as Oakville's Oldest Windows Store of over 25 Years
For over a two decades, Fasada has been the go-to choice for those building new homes, undergoing renovations, or enhancing windows and doors in Oakville, Burlington, Milton, Hamilton, & Surrounding Areas.
Entrust your project to our experienced designers and installers, ensuring a boutique experience at prices that outshine box stores.
Collaborate with our complimentary designers to craft a home that not only meets but exceeds your expectations.
Come visit our Oakville showroom today!

Experienced
Fasada boasts 25 years of expertise in the GTA, making them seasoned leaders in the glass and door industry.
Professional
With a commitment to excellence, Fasada delivers a seamless experience, marked by meticulous attention to detail and clear communication.
Trustworthy
Clients trust Fasada for their transparent business practices, honest communication, and a solid reputation built on reliability over two decades.
"Fasada stands as the perfect blend of retailer, designer, and installation expert, offering unmatched craftsmanship cultivated over more than a decade of dedicated service. Trusted by GTA clients, they ensure your home looks exactly as you envision."
Our Products & Services
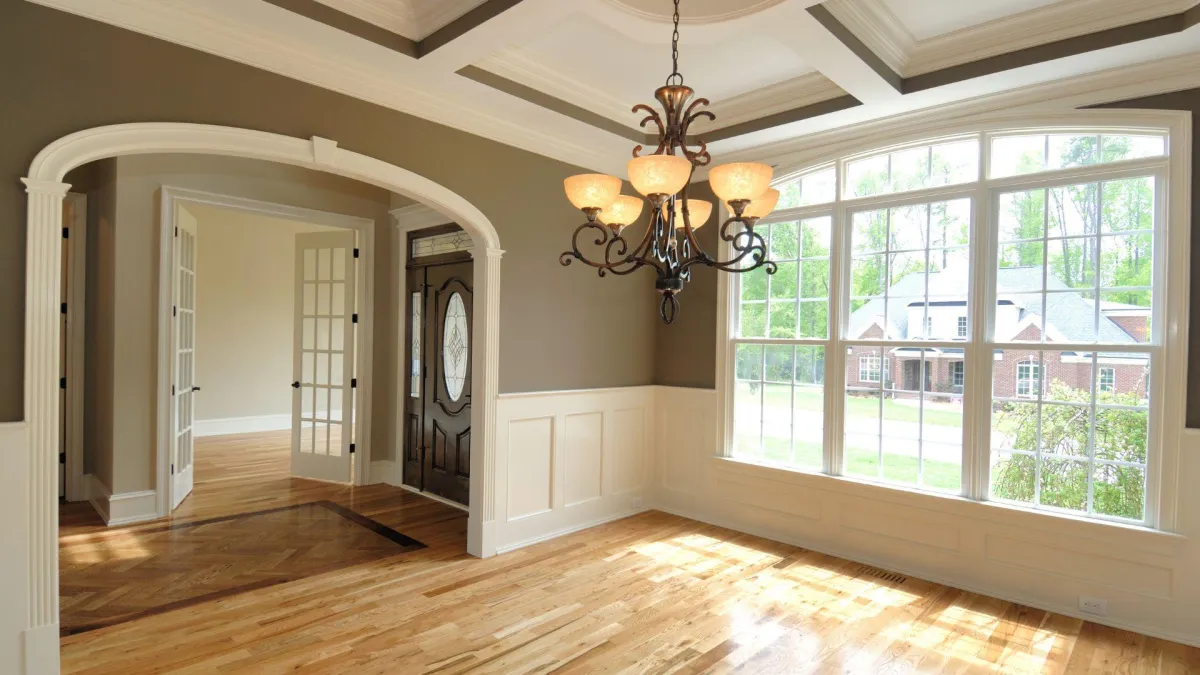
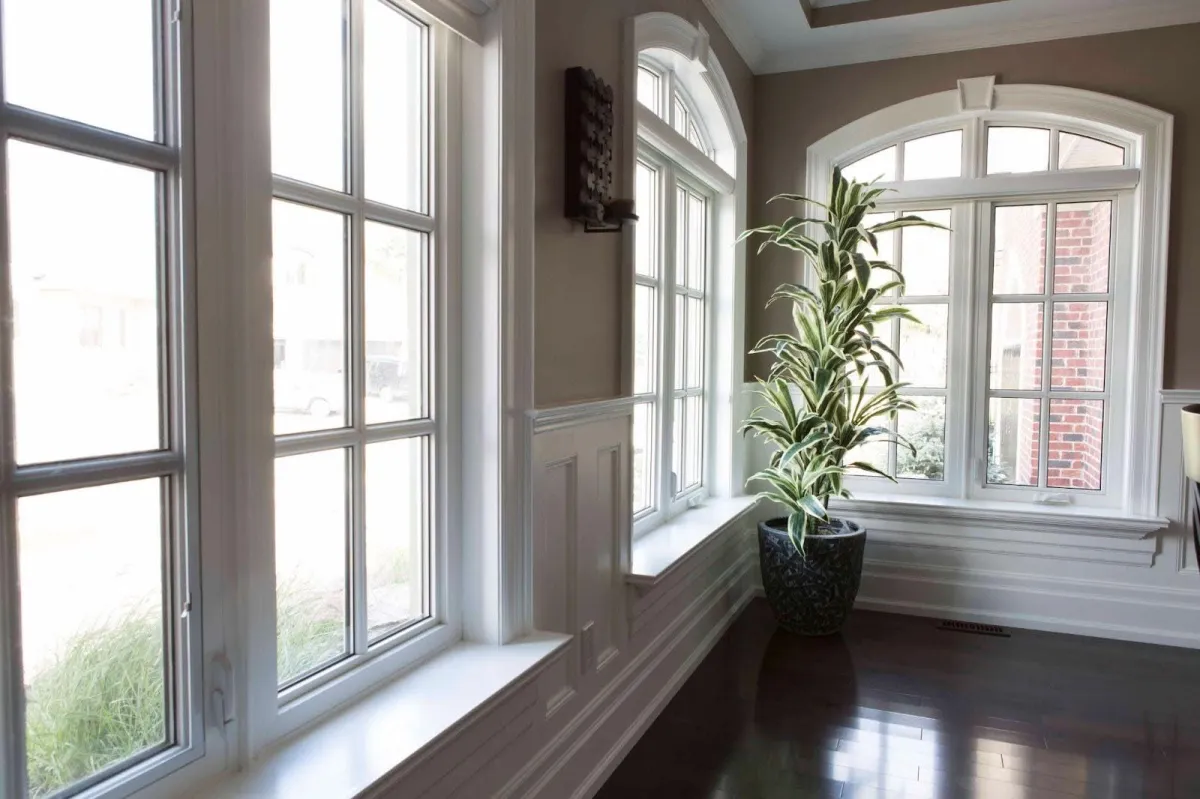
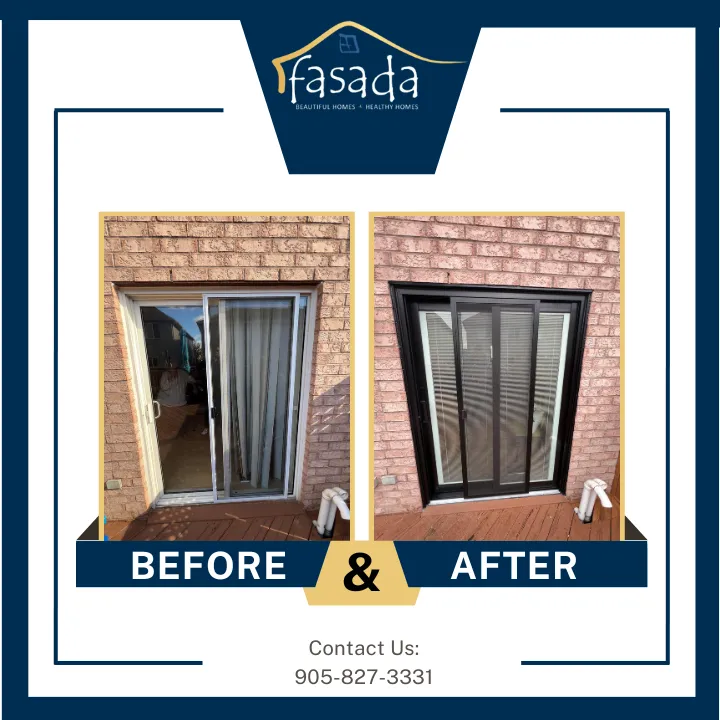
Windows
In search of windows? Fasada has you covered. Explore our premium-quality, affordable, and energy-efficient window replacements, backed by two decades of trust in professional installations across the GTA. Elevate your home with Fasada's commitment to excellence.
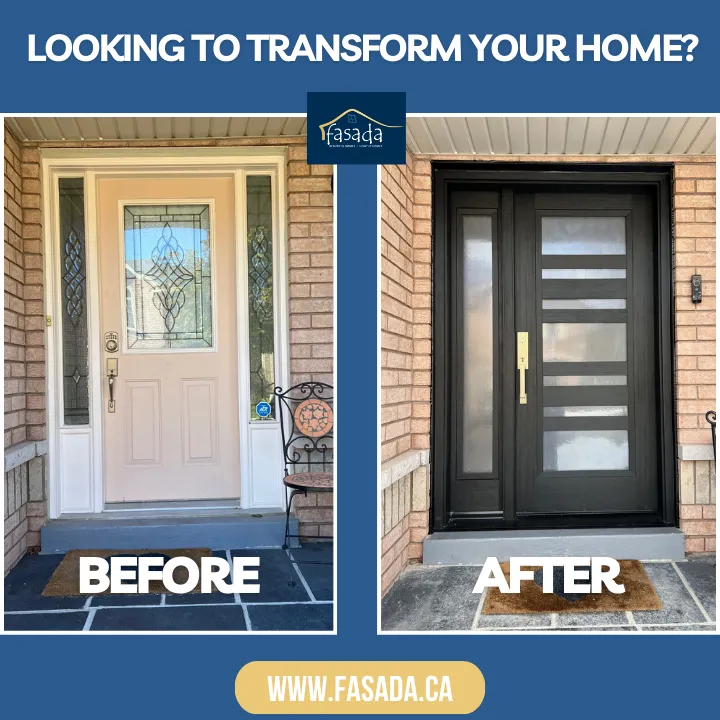
Doors
Elevate your home's facade with Fasada! Whether you prefer contemporary, traditional, transitional, or modern styles, we have options to suit every taste and budget. As your local specialists, we are dedicated to enhancing the focal point of your home with our diverse range of choices.
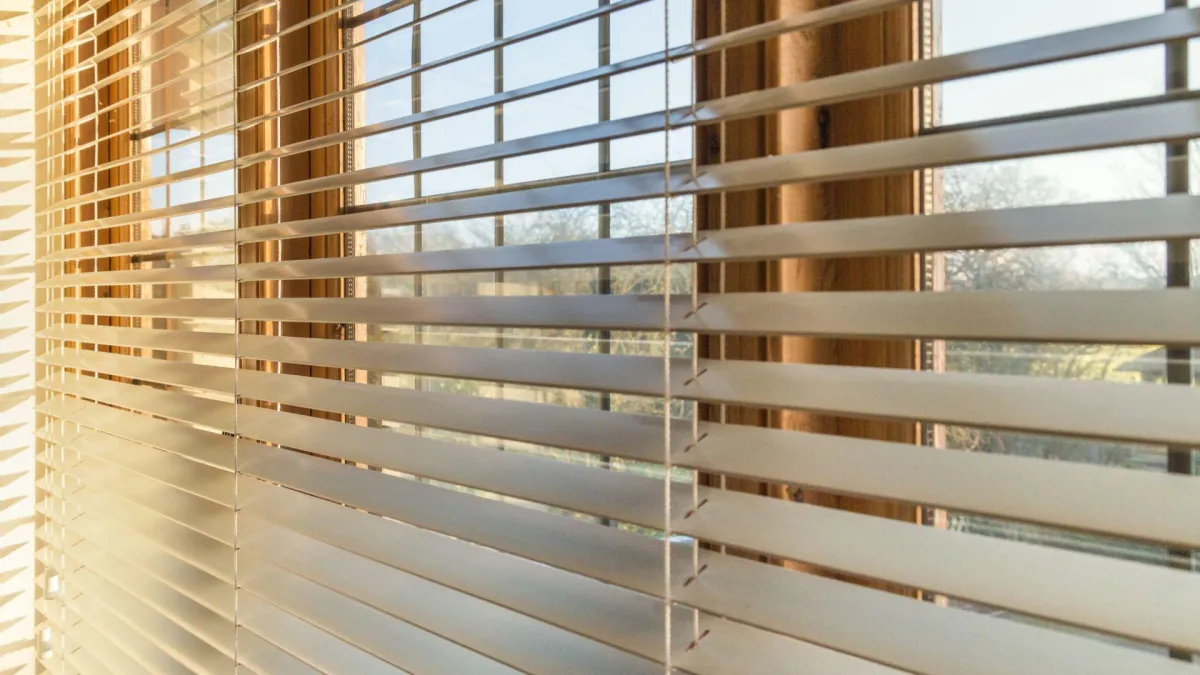
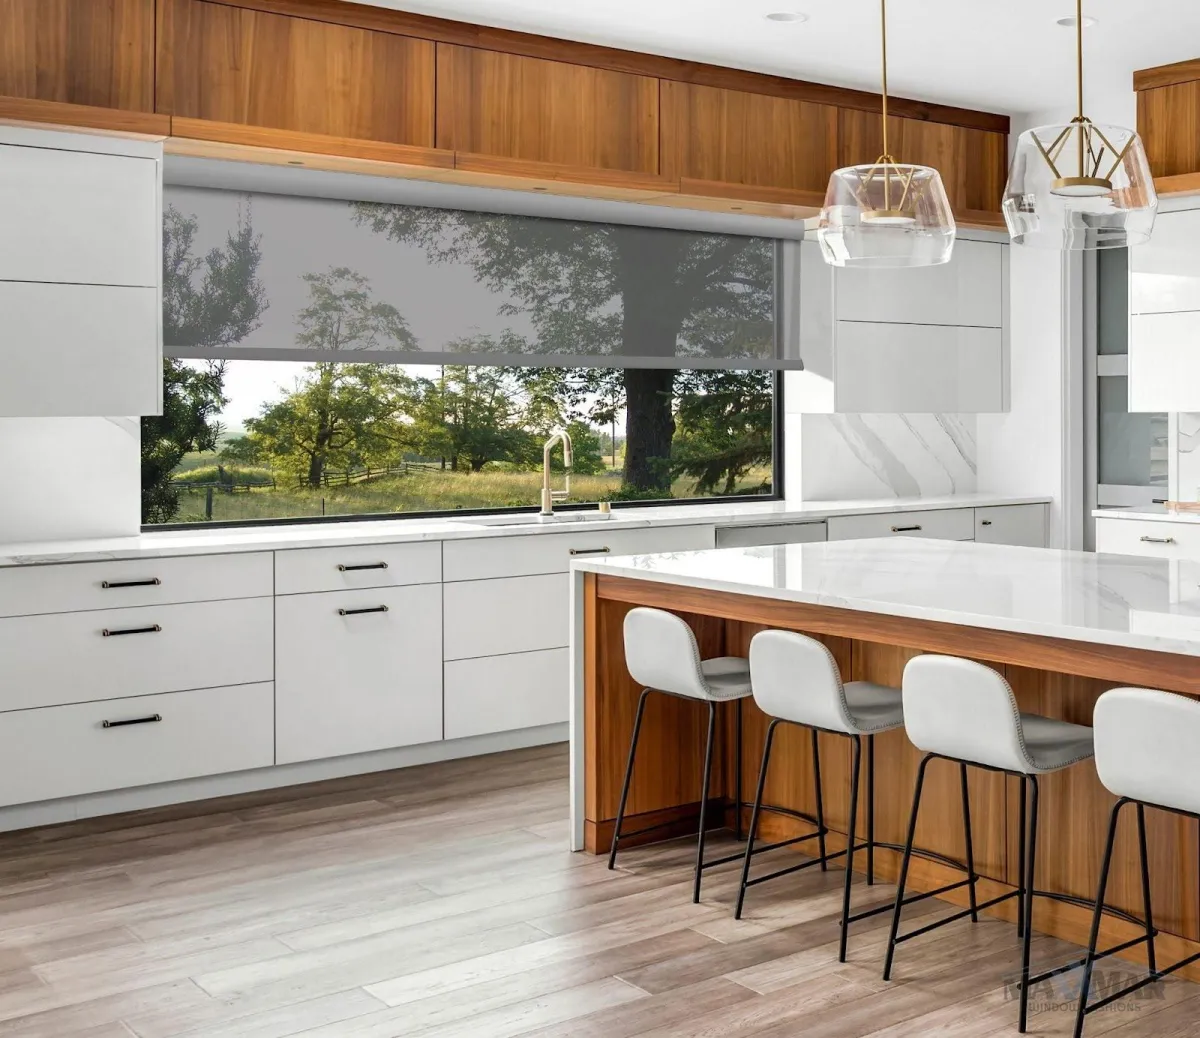
Blinds
Discover the finest in window coverings at our Hunter Douglas Gallery, proudly serving as your local source. Our collections, including Maxxmar and Shade-O-Matic, showcase the latest in window covering fashion and cutting-edge motorization options. No matter the project or budget, we have the perfect solution for you.
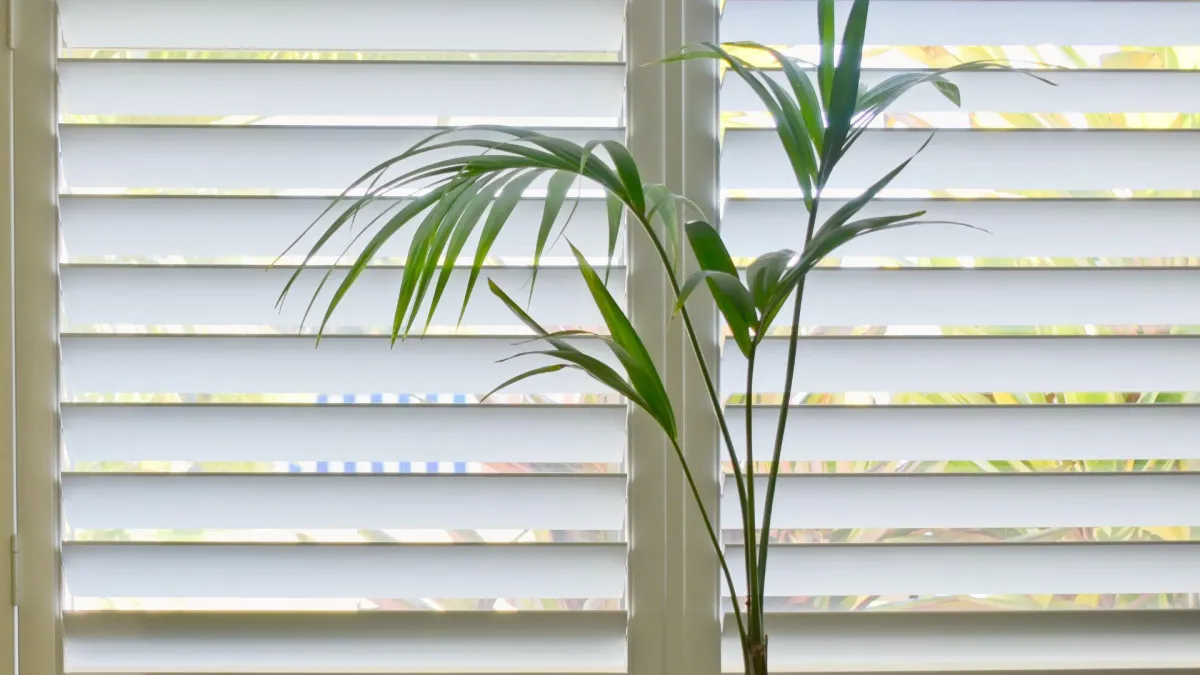
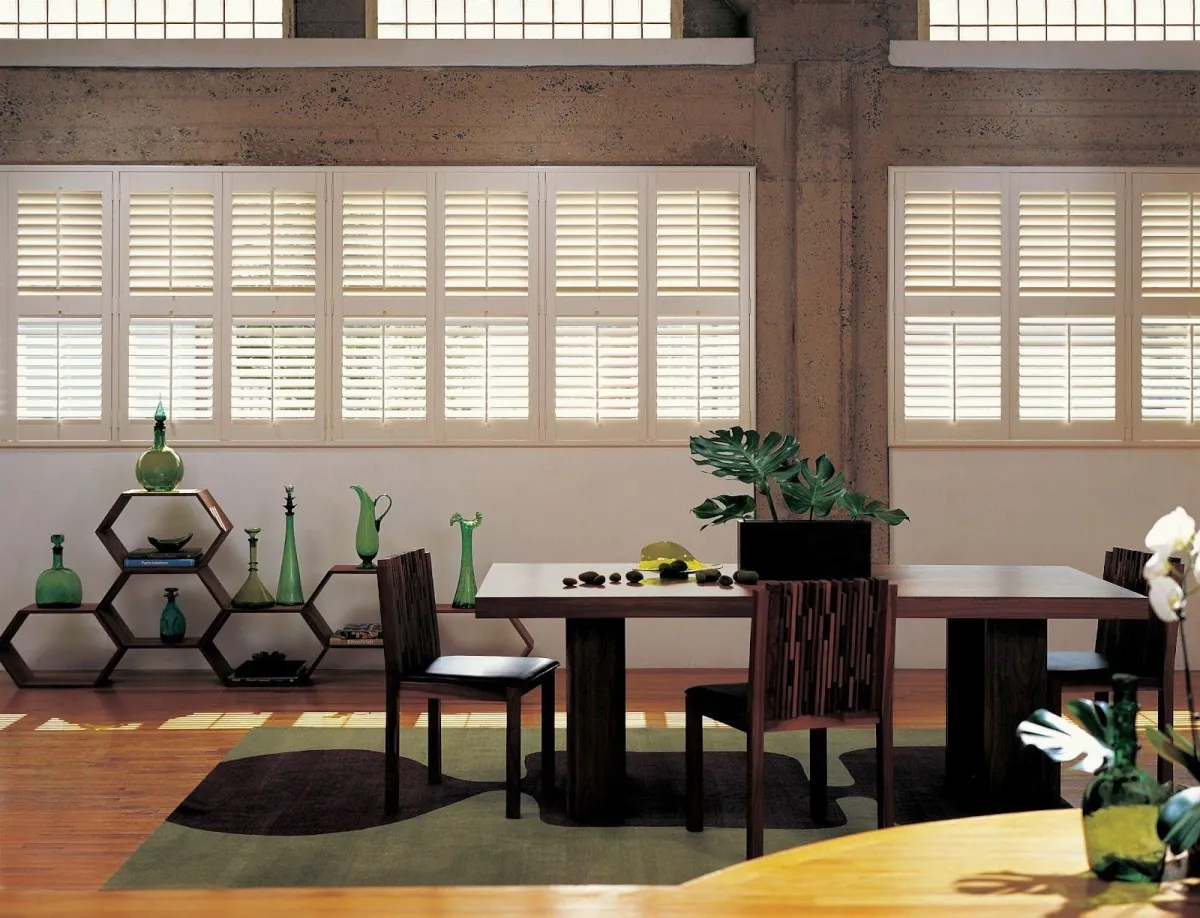
Shutters
We are the eclipse shutter studio location. Known for low-maintenance shutters. Timelessly durable, our shutters now come with added power for enhanced convenience. Experience the perfect blend of tradition and modernity with Eclipse Shutters—contact us today.
Our Trusted Brand Partnerships For Windows, Doors, Blinds & Shutters
Quality service from start to finish. We’re your one-stop shop for all things windows, doors, blinds, shutters, draperies and more. We want you to enjoy every part of your home-remodeling project. We are here to help with everything inside and out from custom design, and replacement options to installation.

Enhance the uniqueness and functionality of every room in your home with our supply and installation of Vinylbilt windows. We offer a diverse range of styles to meet your specific needs and elevate your living spaces.

Exclusively available at Fasada locally, MASTERGRAIN™ products represent a premium line of fiberglass door systems. These doors feature the most authentic wood grain replication in the industry, all at affordable prices. Elevate your entryway with MASTERGRAIN™'s exceptional quality.

Our specialization lies in Trubilt doors, crafted to enhance your front entryway, garage, side entrance, and garden. Elevate your spaces with our exceptional Trubilt door solutions.

As an Eclipse Shutters Studio, we take pride in being Canada's premier shutter designer and manufacturer. Elevate your spaces with our exceptional shutter designs and craftsmanship.

As a Hunter Douglas Gallery Store, we offer an incredible variety of window blinds to enhance your interior, providing both comfort and attractiveness. Explore our selection for a stylish and functional window treatment solution.
Explore our selection of Maxxmar window fashions, where we offer a vast array of choices combining excellent quality with affordability. Transform your space with stylish and budget-friendly window treatments.

As a Canadian leader in quality garage doors since 1983, we bring you styles to suit every taste and budget. Elevate the curb appeal of your home with our exceptional range of garage door options.
THE FASADA EXPERIENCE
Our team members understand that your home is one of your greatest investments and we treat it that way. You can trust us to take absolute care of your project details from design to installation.
Your Fasada experience will always be friendly, satisfying with outstanding customer service and delivery.
As a tight-knit team, you will come to know almost all of us, so please pop by the store, have a coffee and connect with us. We look forward to warmly welcoming you and courteously helping you. We also love to support local, so please let us know more about you so we can return the customer courtesy.
1. Set an Appointment:
Take advantage of our services with:
1.) Complimentary In-Home Design Consults
2.) Digital Design Consults
3.) In Boutique Consults
We prioritize your time with specific appointment scheduling, allowing you to carry on with your day as planned. Rest assured, our team enters your home with utmost respect and courtesy. As a trusted presence in the community, we look forward to the opportunity to assist you.
2. Our Assessment:
Our experienced designers will assess your home, address your needs, and provide expert guidance. They will answer any questions you have and help determine the best options for you. Accurate measurements will be taken to ensure precise quotes. Before custom manufacturing begins, a complimentary additional check-measure will be conducted, ensuring precision and accuracy with your order.
3. Consultation:
Our designers come prepared with convenient samples, allowing you to easily compare finishes in the comfort of your own home. Alternatively, visit our boutique to explore a wide array of displays for inspiration on how things can look in your home. We go beyond being order-takers; our team takes pleasure in collaborating with you to ensure the final result exceeds your expectations. Clients consistently praise our unexpected design expertise.
4. Provide You a Quote:
Expect a detailed quote, meticulously outlining every aspect of your project, ensuring alignment with your needs and budget. Fasada takes pride in providing boutique services with quality brand-name products at prices surpassing box stores. Experience the striking results you'd anticipate from working with a designer, all at the cost of a competitively priced retailer/installer.
4. Installation
Count on a quick, courteous, and professional installation process with Fasada.
Our installation team ensures:
1.) Punctuality: We arrive on time.
2.) Respectful Treatment: Your home is treated like our own.
3.) Efficiency: We install in the most effective manner.
4.) Cleanup: After installation, we leave your space spotless.
All you need to do is let us in, let us work, and enjoy the remarkable results afterward.
5. Post Installation - Clean as We Go:
With over 20 years of experience, we've been steadfastly supporting our customers throughout their home remodeling journey. Even after installation, we remain here to assist with any post-installation questions and address warranty offerings from our trusted manufacturers. Your satisfaction and peace of mind are our enduring priorities.
What Our Customers Say
“Not only do you get beautiful products from Fasada, but also outstanding customer
service from expert designers and installers.”

WINDOW AND DOOR PROBLEMS? WE HAVE THE SOLUTION.
With 25 years of expertise in The GTA, Fasada is your premier solution for window and door needs in Oakville. Bid farewell to issues like rot, drafts, and unreliable installations. Our high-quality products and expert installation guarantee a seamless experience. Whether upgrading your existing home or enhancing a new one, Fasada is the smart choice. Explore our Oakville showroom for attractive, functional, and secure windows and doors, complemented by cozy window coverings for every room.

Oakville l Burlington l Milton l Hamilton l Mississauga l And Surrounding Areas
Unit 4 – 2512 Old Bronte Rd. Oakville, ON L6M 4J3
Call Us Today: (905) 827-3331
Send us a Message info@fasada.ca
Copyright 2024. All rights reserved